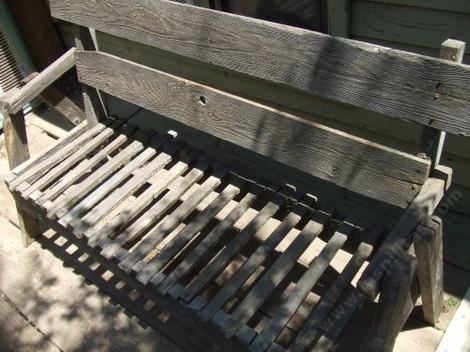
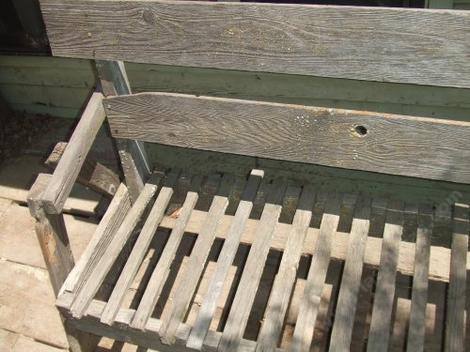
How to build a simple garden bench or seat.
A Garden Bench does not have to be elaborate and you do not need detailed plans. A few simple pieces of scrap lumber, a well placed log, or a bag of cement, some sand, gravel and an old plank all can function as a garden bench. Low -tech benches look a whole lot better than high - tech ones in most gardens, and are generally more comfortable.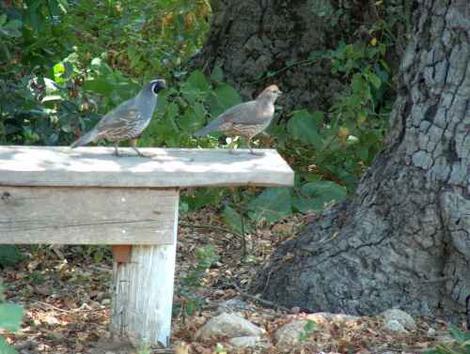
Natural benches made from scrap or left over materials are good for the environment, naturally. All of our benches have been thoroughly inspected by our quality
control experts.

Hokey benches can be fun! Do not be afraid to try!
It's scrap lumber, what's the worst that can happen, smaller scrap lumber? Sometimes the bench, seat, or chair turn out to be a pot stand or bird house, but they still can be cheap and fun to build.
It's scrap lumber, what's the worst that can happen, smaller scrap lumber? Sometimes the bench, seat, or chair turn out to be a pot stand or bird house, but they still can be cheap and fun to build.
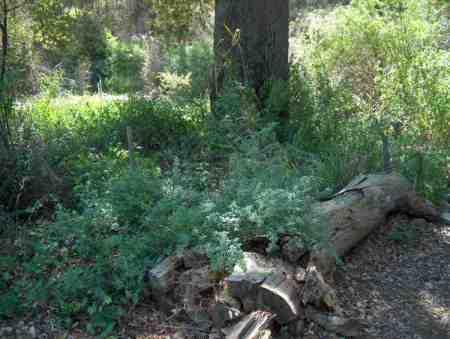
A log in the garden sure looks more natural than a stainless steel or brushed aluminum bench that grills your butt every time you try to relax and enjoy the garden. Remember what you're putting on the bench; it does not have to be perfect!
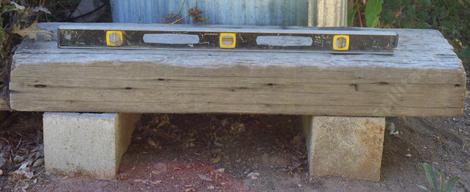
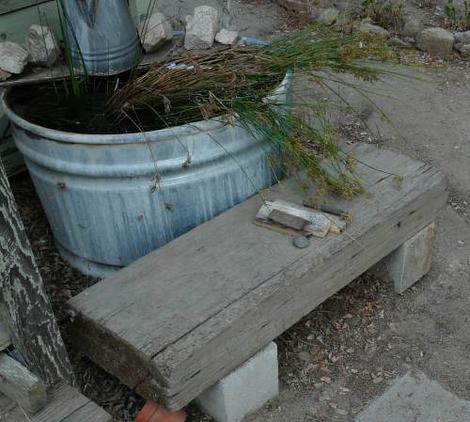
A very simple garden bench can be constructed with a piece of driftwood, old plank, or squared log and a couple of concrete blocks.
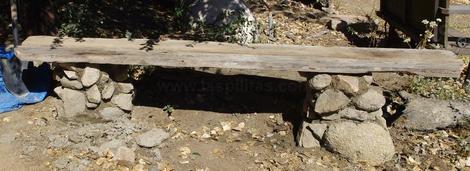
One of my favorite types of benches involve an old timber, plank, or squared log, and some rock and mortar. (Do not use railroad ties. I did that once and weeping tar ruins everyone's clothes that gets near it.)
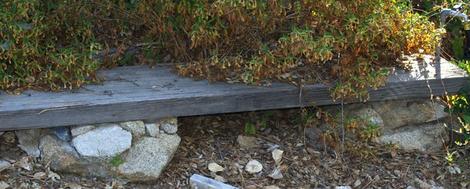
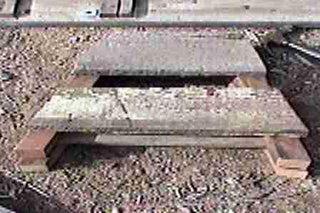
Two rock pillars can support a log or wooden plank to make a simple and cheap garden bench.
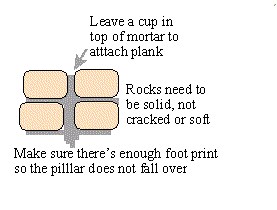
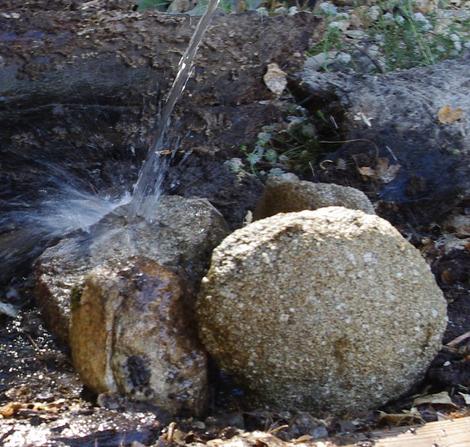
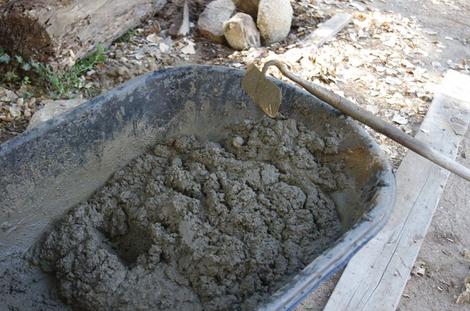
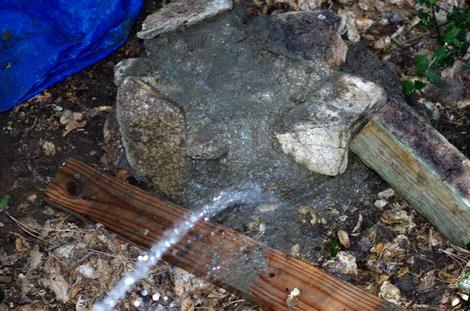
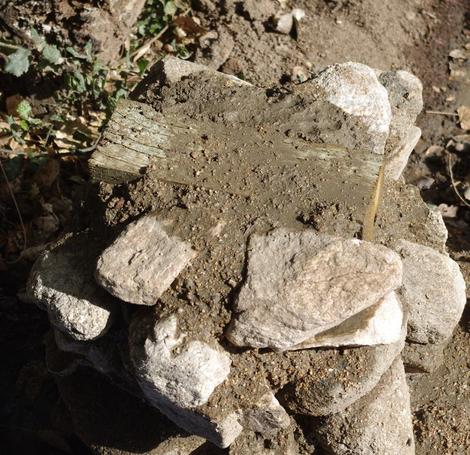
Build yourself two little rock towers. Make sure the base of each tower is into the ground a little bit by digging a shovel sized hole and filling it with mortar. Build a quick one -foot- wide rock wall up about 14-16 inches(30-40 cm.)on each of your 'mortar' holes. If the plank is four inches thick make the pillar 14 inches tall, if the plank is two inches thick make the pillar 16 inches tall. Leave a cup in the top of each 'wall'. Make the rock top of the two walls flat and level with each other. (Mortar can pick up an inch or two of difference.) Wait a couple of days for the mortar to harden.
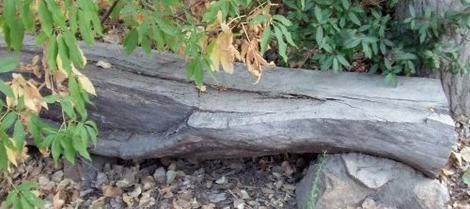
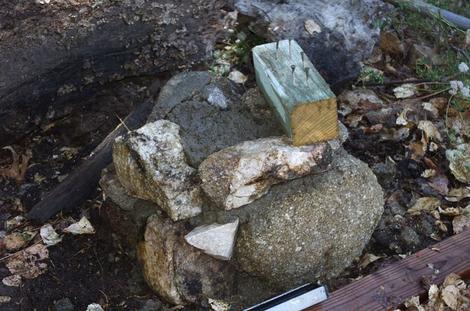
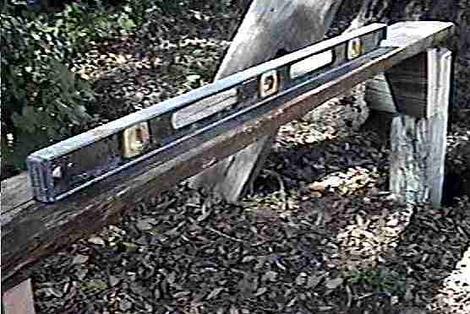
Line up your plank over the two pillars you've created, and mark where the cups match the plank. Set the plank on level ground with the bad side up. Drive a few (3-5) large nails, or better yet, large screws, into the wood where the cups are. Fill the cups with mortar and roll the plank on top of them, so the nails nest into the wet mortar flush with the tops of your rock work. You'll have between one minute and fifteen minutes (depending on temperature and humidity) to set the nails into the mortar. Check everything before you stick the plank up there! Mortar can be used to fill the top of the rock to make the bench level; that is, you can use more than a cup of mortar if you need to. Once you have the bench top setting in wet mortar, do a five -second final check with a level(lengthwise and widthwise) and then do not bother the bench for a couple of days.
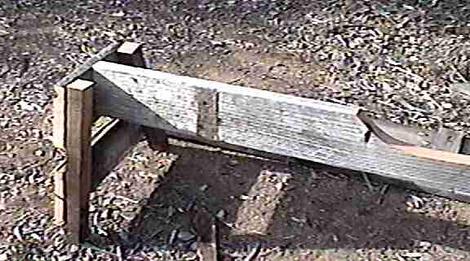
Two posts in the ground with a couple of wooden runners make a simple bench.
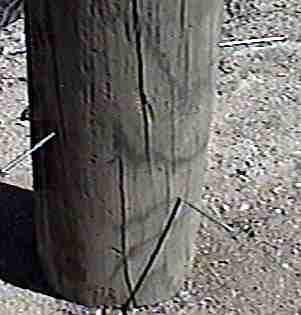
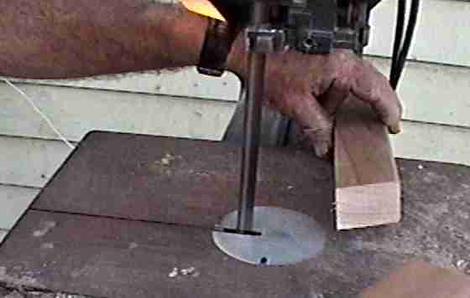
A permanent bench can also be made of one treated (termite-resistant) 4X4, and a 2X8, 2X10 or 2X12 plank, or combination of boards to make an eight to twelve inch- wide seat. Start with a treated, cedar, or redwood post at least 4 inches thick. Cut the uprights to about 36-48 inches long. Cut a notch in top for a 2X4 or 2X6 cross member. Although it doesn't have to be perfect, it is helpful if the cross member nests in the notch so the top is flush and square. Junk wood, or scrap wood can be turned into some nice looking garden objects. If you have kids, you do the cutting, and let them help with the rest. They can nail everything but the top. (Bent nails on the the top can tear clothes.)
I do not like to cement upright posts into the ground. Posts rot easier when they're cemented. I usually will drive a few nails into the bottom sides of posts to dramatically increase the surface area. Upright posts need to be no more than about six feet apart for an eight foot long bench. I suppose two 4X4's could support a span up to ten feet if you use larger lumber, but the bench looks best when it is between four feet and eight feet in length with no more than a foot or so of overhang. Once posts are tamped into the ground with side nails in place good luck moving them around! The small cross member needs to be nailed before you set the posts! (Notice that this little piece of wood is even with both the top and one side of the upright post.) The long cross member needs to be tacked lightly, the upright posts and the long cross member leveled, BEFORE everything is tamped hard and nailed. Once you get it leveled, tamp the posts in very solid(great kid job), and finish nailing the boards on.
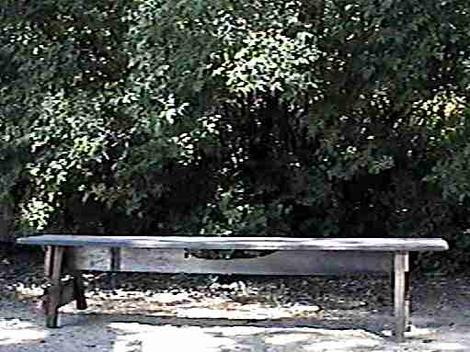
Alternatively, the garden bench can be more complex.
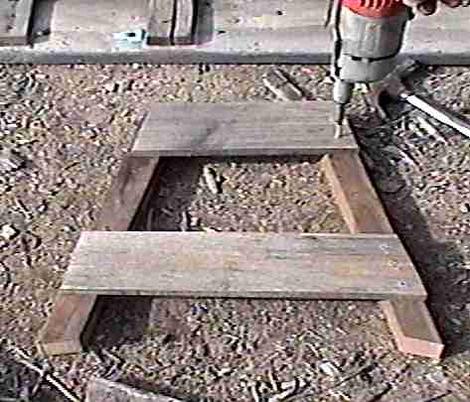
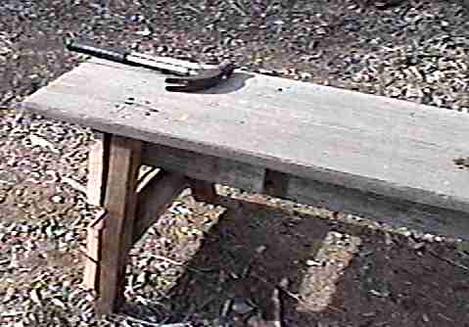
Find some old scrap lumber. The only real requirements are that the boards do not have pitch, tar or other sticky material and the wood is not too badly cracked. The top can be pieced together one- by -four planks(as shown), one by eight, ten,or twelve or two by eight or ten planks. The risers can be two by twos or two by fours.
Check that the two sides match up before you start nailing and screwing the legs together. Before you start cutting the legs increasingly short, switch around the legs to see if you can even things up. I've made a few twelve inch high benches trying to level the bench and then claimed I made them for the children, heh!
The two ends can be a little off, but the two legs that are attached should be close. Nail or screw the ends (uprights) onto the bench cross member.
Try it upside on a flat surface, it's easier.
Get someone to help you put the ends on or stuff the lose end into a fence or something so you can attach one side. The second side is much easier.
The first side can lead to violent expletives!
It is hard to get straight and level. Add the top to the bottom. Make sure to nail or screw once into each riser and at least three times into the cross tie.
