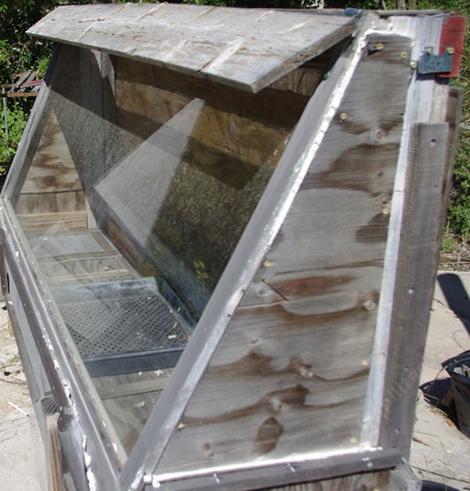
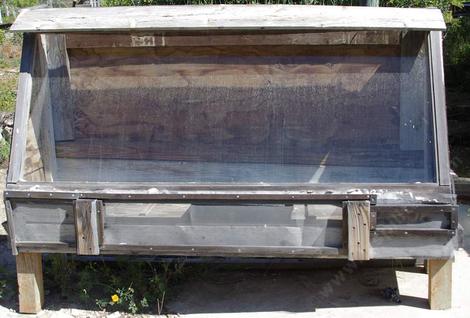
How to build a cheap homemade solar vegetable or fruit dryer.
The principles of the solar dryer are important to understand, more important than the actual construction. If you make a chimney out of the box structure then your actual construction can be pretty sloppy.If the box doesn't vent properly, you can build the most expensive pretty box and it will not work. The solar dryer needs to be as vertical as possible while having the glass window that makes up the front face be at an angle. A big wooden framed window works well. No one seems to want the old wooden framed windows so you can commonly find them behind the garage or at a recycling center. The wooden frame makes a great starting frame for your dryer. You can use aluminum framed windows, but there is nothing to attach to so it's much harder. You'll have to build a frame around the aluminum frame to attach the rest of the dryer.
Vinyl windows melt and may give a nasty taste to the food. Plexiglas also melts, warps, and will discolor with heat. Use as little synthetic material as possible. No pressed board material, fiberglass screen, or plastics if possible.
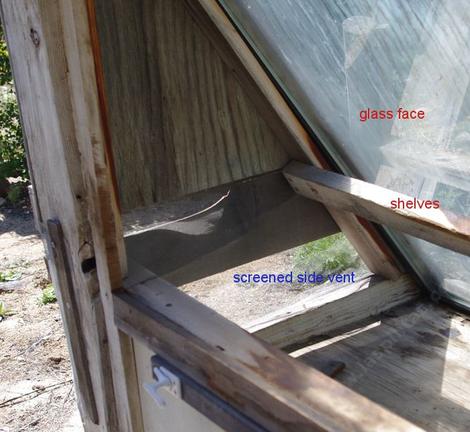
The sides have to be tight and the back door has to be tight. You should not be able to put a pencil though any crack. Don't despair. Window screen and staples can cover all sorts of sloppy work.
Legs are nice, but if you're building a small box that is light weight, you can put it on a picnic table or other outdoor table instead of building legs. The legs can be problematic, as it is hard to get the stupid thing to stand up and not fall over.
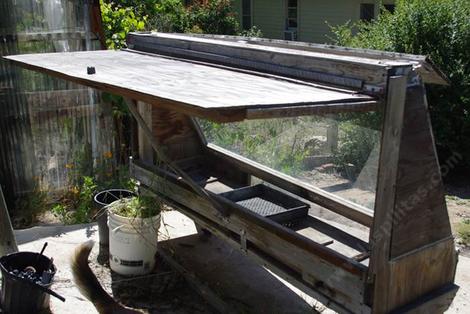
The door can take a lot of time. Easiest door is a square of 5/8-3/4
inch plywood cut to the exact size of the opening you've prepared in
the back of the box. If you have a fair sized piece of old plywood,
frame the box back to fit the plywood. Use 2x2' to frame inside the plywood door to create depth to the plywood and make a tighter fight. Then put the hinges and latch
hardware onto the plywood. The door should be as big as you can make it
without the box falling over and keeping it tight. Moving the food in
and out is a real drag if you can't access the box, but it is also a
drag if flies can get inside or the box falls over and breaks the
glass. Spend time on the door, check that it opens and closes easily
and you can latch it shut. Also figure out something to hold the door
open so you can load it and unload it without help. The door hardware
doesn't have to be fancy, a couple of pieces of wood screwed to the
corners can act as a latch, but formal window hardware works better.
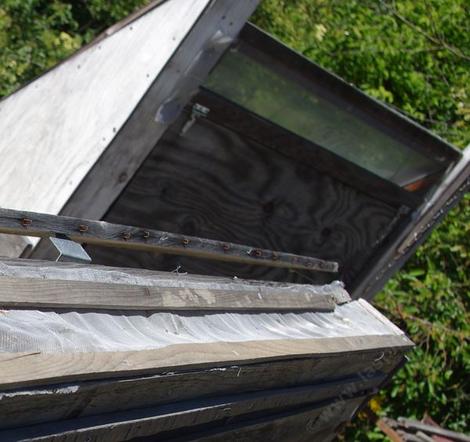
In moist climates you'll need some way of keeping a summer downpour out
of the box. Either a vent shield or an awning should work. But at least
only put the vents on the vertical sides, not on the angled window side.
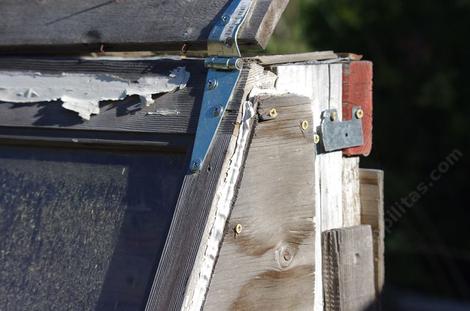
Materials needed
Old wooden window, not opening, just the single pane window in wooden frame.
Roll of aluminum wind screen.
Some old pieces of plywood. New stuff is ok,
but the older stuff has vented of the chemicals and is cheaper.
Some deck screws
A counter sink to put the deck deck screws in without cracking the wood frame.
Some light wood, either 2x4 or 2x2 to finish the box frame and maybe the legs.
Caulking can be useful but not required.
Couple of 2 or 3 inch hinges.
Two window latches.
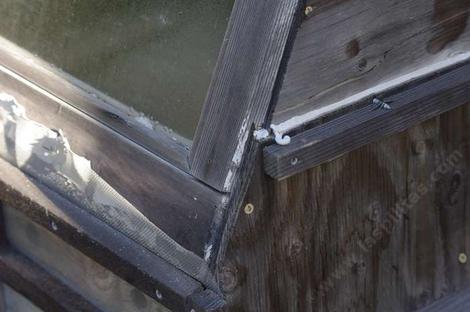
Old wooden windows are great. You have an instant frame.
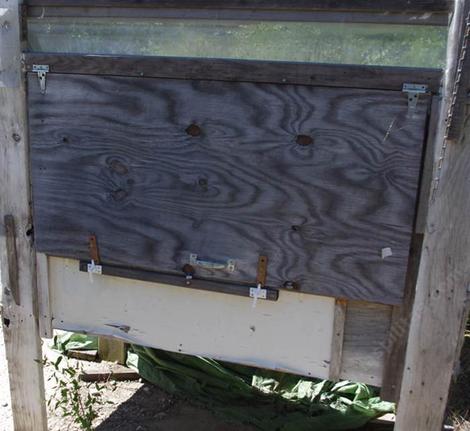
Fancy door latches.
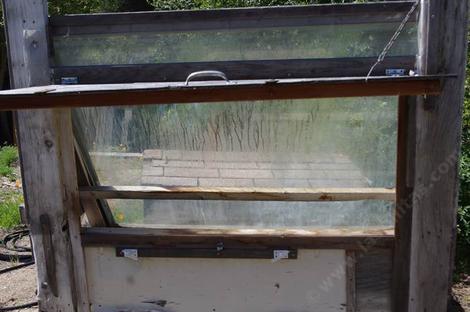
The fancy door open. Notice the homemade keeper to keep the door open.

The fancy door open. Notice the homemade keeper to keep the door open.
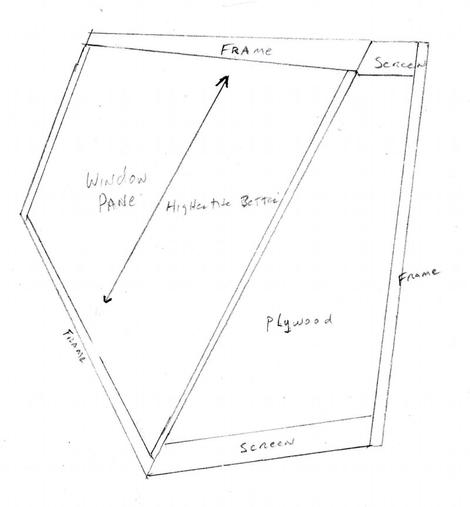
I've not included dimensions in here as this is supposed to be a cheap and simple solar dryer. Use a cheap used windows that is at least 2x2 feet in size, 2x3 or 3x4 feet is better, with the longer side vertical. The whole point is to get the air in the box to move off the food, not to get hot and cook the food.
More how to build stuff pages
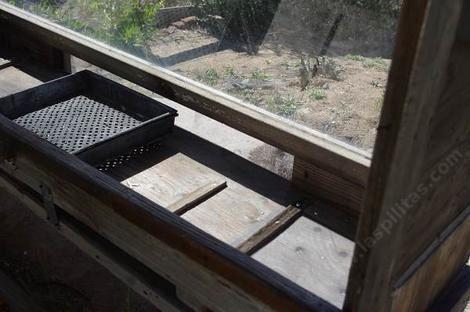
A few strips of lath can keep the flats up off of the floor. I usually use nursery flats with wax paper laid inside.The clean flats can be used by themselves.
