Gift Certificates | Shop | Plant lists | Search | Hours
Home
> Garden DIY
> Garden furniture, how to build a patio table from pallets.

How to make a simple and cheap table out of wood.

First find a source of hardwood pallets. Hey, if you can find another source of free wood or at least cheap wood, good for you. But hardwood is really expensive, and pallets are free. Pine can also work, fir doesn't work well, it's too rough and warps.
Beer and wine distributors seem to be an excellent source of free wood. Sometimes the big box stores also have some.
Be create, sometimes nice hardwood is just thrown away.
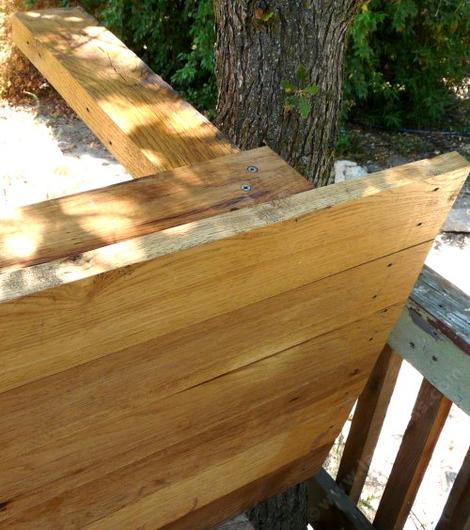
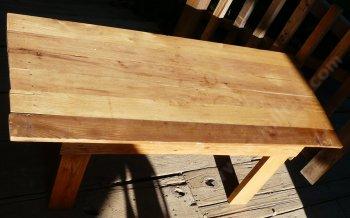
A finished pallet table top. Some of the pallets are made of oak and can be used to make decent furniture.  - grid24_12
The finished table will look something like this. I ran the wood through a power planner. You could clean up the better side with either a sander or a plane.
pallet nails are really hard to pull, I just cut the board shorter - grid24_12
If you can find discards that were stabled together you can usually get the staples out with a pair of needle nosed pliers.
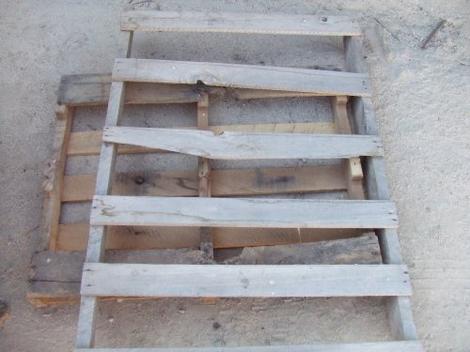
old junky pallets - grid24_12
Clean new wood is best, but older hardwood with smooth wood will work.
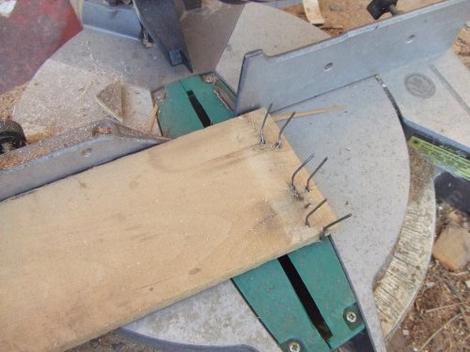
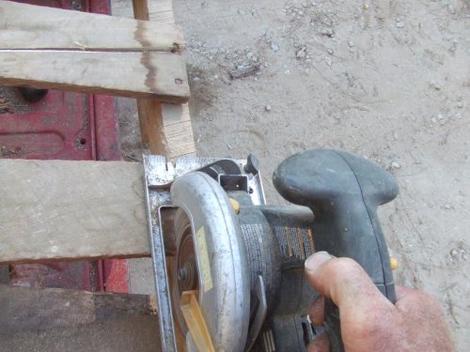
cut  the boards off of the pallet - grid24_12
The nails are almost impossible to remove. So do yourself a favor and cut off the edges with a saw so you only have the two center nails to remove. They may still take a a few minutes each to get off. Most of the work involved in this project is getting those nails out without turning all the wood into tooth picks.
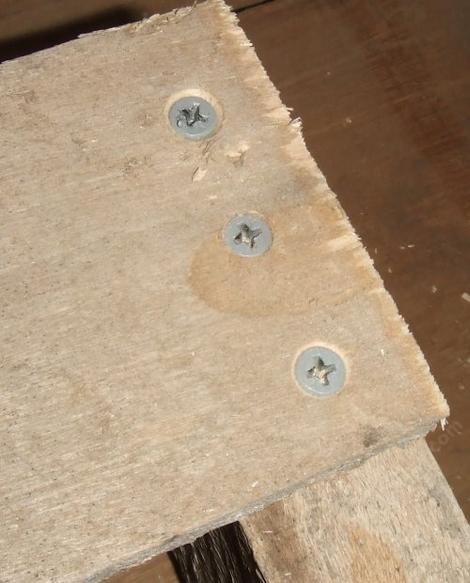
Counter sunk screw heads - grid24_12
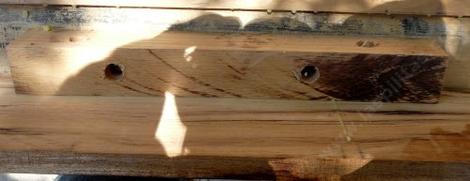
Because you are working with hardwood you'll need to counter sink all the screws you put in.
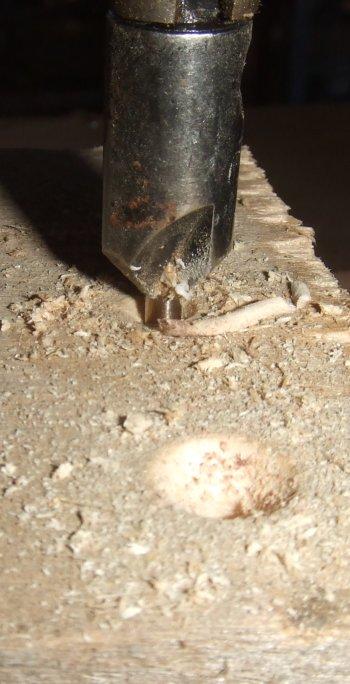
pre-drilling and counter sinking the screw holes - grid24_12
You can buy a counter sink tool for you drill for a few dollars. It's a useful tool when dealing with thin woods or brittle woods.
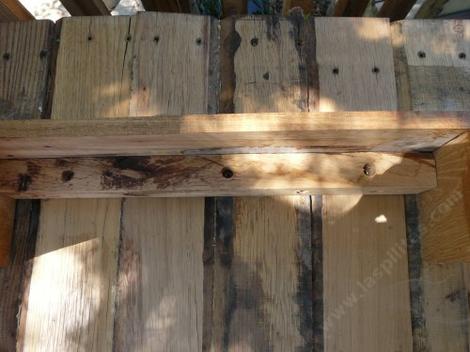
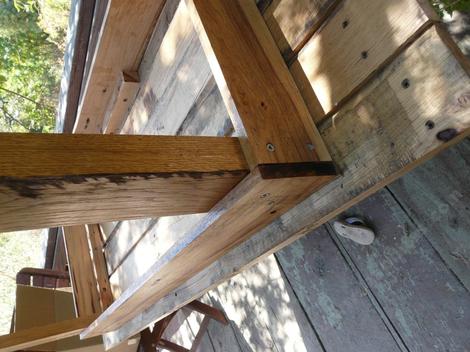
under the table showing the reinforcing of the runner - grid24_12
If you want the table to look fair or even decent, , everything needs to be connected from the bottom. The table slats get one or two screws each. There should be no screws through the table top. This is the underside end.
bottom of table screws go into both pieces  - grid24_12
This is how you clip the top to the side runners to the top.
It's kind of funny that this table is now 10 years old, used every day and is still soild and level enough to put a puzzle together on.
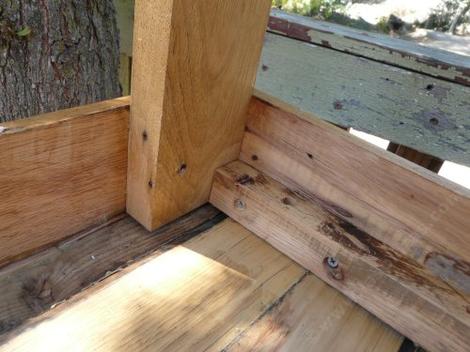
Inside of pallet table. All these joints are screwed and glued. - grid24_12
The underside corner.
inside the pallet table - grid24_12
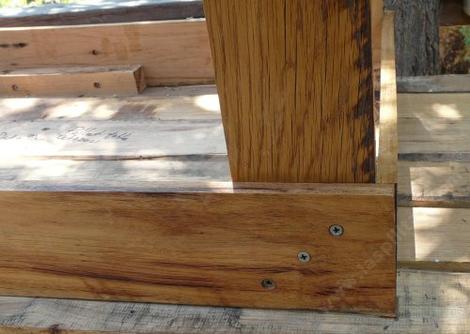
Outside corner of the table. Remember the glue. Regular old white glue will do. Furniture white glue is a little better.
The table leg is srewed to both side runners. It would look prettier if the screws were on the inside, but it would be weaker. - grid24_12
The table leg is srewed to both side runners. It would look prettier if the screws were on the inside, but it would be weaker.
underside of pallet table - grid24_12
The finished underside of the table.
We treated all the wood when we were finished with two coats of boiled linseed oil.
Instagram Logo
Facebook Logo
Help Buying plants online
Santa Margarita Inventory Santa Margarita nursery About laspilitas.com

Do you like what we're doing with the pages?
Email SHORT questions or suggestions

We tried to use kibble for the webmaster, he still can't type. He does bark the answers.
Copyright © 1992-2025 Las Pilitas Nursery
Edited on Jul 08, 2012. Authors: Bert Wilson
Site Index